
How to Create a Payment Link with Card, SEPA, and Crypto Options
Learn how to create a payment link with card, SEPA, and crypto options for a simple checkout, lower drop-offs, and faster payments.
On this page
What a Payment Link Is and Why Multi-Method Payments Matter
A payment link is a shareable checkout page. One link, one action. The buyer clicks, picks a method, and pays without waiting for a custom invoice or a separate store checkout.
That simple setup matters because customers do not all pay the same way. Some want card. Some prefer bank transfer. Some want crypto for speed or privacy. If you are learning how to create a payment link with card, SEPA, and crypto options, the point is not novelty; it is fewer drop-offs at the last step.
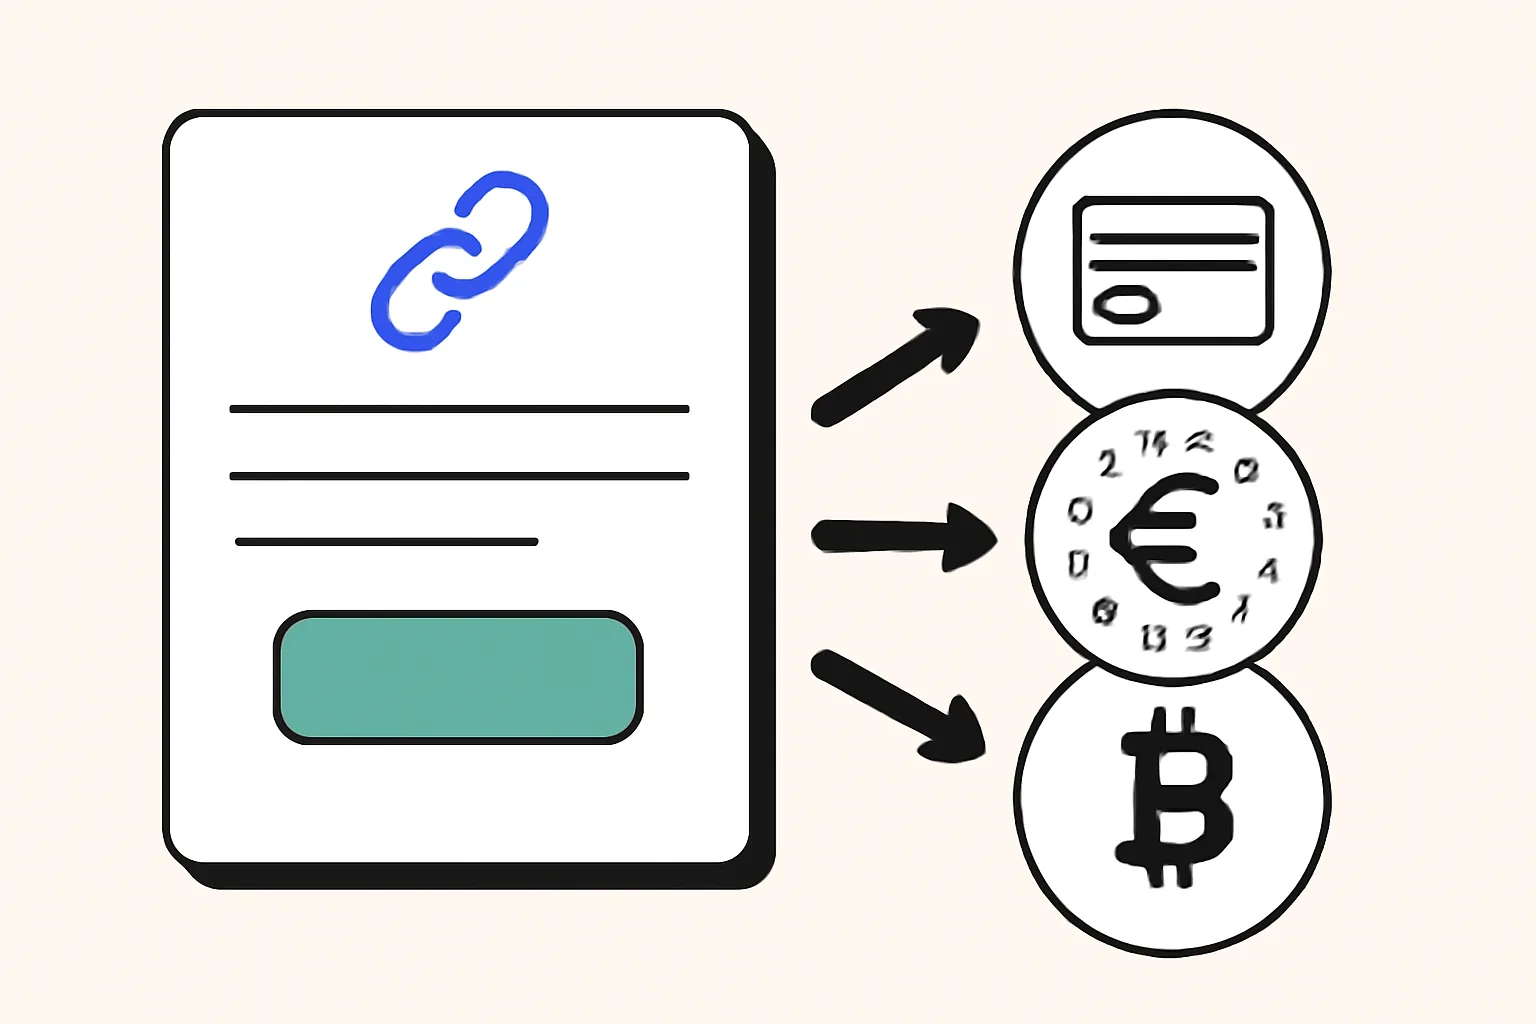
Think of a payment link as a single door with three handles. Card works for fast consumer purchases, SEPA suits European bank payments, and crypto can suit cross-border invoices or tech-savvy buyers. One checkout, three paths.
A mixed-method payment link can also reduce support emails. A buyer who cannot use a card does not need a new invoice. A buyer who hates typing IBAN details does not need a bank form. That saves time on both sides.
Set Up Your Account and Choose a Payment Link Tool
Start with the account. Most tools ask for a name, email, business details, and basic verification before they let you publish a pay-link. If you are handling customer money, the platform will usually want identity and business checks.
Pick a tool that explicitly supports card, SEPA, and crypto in the same flow. Read the settings screen before you commit. If the product only supports card now and “crypto later,” you will lose time reconnecting everything after the first sale.
Ask one direct question before you sign up: can this tool send a single pay-link that offers multiple payment methods at checkout? If the answer is vague, move on. A clean setup is worth more than a flashy dashboard.
For a broader look at link-based payment and sharing tools, the urlik Blog has related articles that may help you compare link formats, QR use, and branding choices.
Create Your Pay-Link Step by Step
The process is usually short, but each step matters. Skip one field and you may create a link that confuses customers or posts the wrong amount. Here is the practical path.
- Create a new payment link inside your dashboard.
- Enter the amount. Use a fixed amount for invoices, or leave it open if the tool allows customer-entered payment.
- Choose the currency. Pick one currency per pay-link unless your platform clearly supports more.
- Add the customer name, email, order reference, or invoice number if the system asks for it.
- Set payment terms, such as due date, note field, or allowed payment methods.
- Generate the pay-link and save the URL before sharing it.
Do not rush step 2. An amount set incorrectly is the most annoying error because it looks real until someone pays the wrong figure. One digit off can create a refund, a dispute, or a manual correction later.
Keep the payment terms short. “Pay within 7 days” is clearer than a long paragraph. Customers read less than you think, especially on mobile. Short beats clever.
Add Card, SEPA, and Crypto Options to the Same Link
Once the pay-link exists, open its payment settings and enable the methods you want. Card usually needs a processor connection. SEPA usually needs a bank or transfer setup. Crypto usually needs a wallet or payment gateway connection.
Card is the easiest for most customers. SEPA is often the right choice for European business payments, recurring invoices, or larger transfers where bank rails feel familiar. Crypto can help when the payer is outside your banking zone or simply prefers sending digital assets.
Some platforms let the checkout screen display all available methods at once. Others show the methods after the buyer enters an email or amount. That order matters, because a buyer who only wants bank transfer should see it quickly.
Watch for fees, settlement timing, and payout rules before enabling all three. Card may settle faster than SEPA. Crypto may settle differently again depending on the asset and the provider. The right choice is not just “can it accept payment?” but “how does the money arrive?”
If you want to compare method handling with link security, Are Short Links Safe? How to Check Before You Click is a useful companion read, especially if you share links publicly.
Generate and Share a Payment Link QR Code
After the pay-link is ready, create a payment link QR code. That is the fastest way to turn a web checkout into something people can scan from a poster, receipt, table card, counter sign, or packaging insert.
QR use is simple. Generate the code from the finished link, download it, and place it where people already look. A café can put it on the table. A tradesperson can print it on a work order. A market seller can keep it near the card reader.
Mobile users benefit most. They scan, tap, choose card, SEPA, or crypto, and finish payment without typing the URL. No typing means fewer errors.
If your use case depends on printed materials, take a look at Dynamic QR Codes: Change the Destination After Printing. It helps when a printed code needs to point somewhere different later, which is handy if you reuse signage across campaigns.
Customize the Checkout Experience and Branding
Branding is not decoration. It tells the payer they are in the right place. Add a logo, choose brand colors, and write a short payment note so the buyer knows what they are paying for and who will receive it.
Expiration dates can stop old links from floating around forever. If the payment is tied to a quote, a reservation, or a one-time sale, set a limit. A link that expires after 7 days is easier to manage than one that lives indefinitely.
Redirect URLs matter too. After payment, send the buyer to a thank-you page, invoice page, or download page. Do not leave them staring at a blank success screen.
One small aside: too many colors make a payment page look improvised. Stick to one logo, one main color, and one clear instruction. The buyer should not wonder whether the page belongs to you.
If you want your link to look like your own domain rather than a generic shared address, read custom short link domain. A branded link can make the pay-link look more trustworthy in email, chat, and print.
Test, Monitor, and Troubleshoot Your Payment Link
Test the pay-link before sending it to real customers. Use a low-value payment or a sandbox mode if the platform provides one. Try all three methods you enabled: card, SEPA, and crypto. If one method fails, fix it before the first live buyer sees the error.
Check the full path. Click the link, open the checkout, complete the payment, and verify the confirmation message. Then check the dashboard for payment status. A payment can look successful on the front end and still fail to post in the backend if the processor connection is broken.
Failures usually fall into a few buckets: wrong amount, expired link, unsupported currency, processor not connected, or wallet not synced. Those are boring problems, which is good. Boring problems are fixable.
If SEPA does not appear, confirm the banking connection and the eligible country settings. If crypto does not appear, check the wallet address or gateway permissions. If card declines, look at the processor logs and the payer’s card country or risk checks.
Monitor payouts after the first 3 to 5 transactions. That is the moment when hidden setup mistakes usually show themselves. You do not want to discover them after sending 40 links.
Best Practices for Secure and Clear Payment Links
Clarity beats cleverness. Name the payment, state the amount, and show what the buyer gets. A pay-link for “Consulting Deposit” is better than a vague link called “Service Fee.” The buyer should not have to guess.
Keep instructions short and specific. “Pay by card, SEPA, or crypto before Friday” gives the buyer a time frame and method choice. “Please settle at your earliest convenience” does not.
Fraud reduction starts with visible details. Match the link name to the invoice. Use a branded domain if you can. Check the destination before posting the link in email or chat. If the link looks wrong to you, it will look wrong to the customer too.
Refund handling should also be decided before launch. Write down who approves a refund, how long it takes, and which method is used to send money back. Card refunds, bank returns, and crypto reversals do not always behave the same way, so the internal rule matters.
For private sharing, consider Password-Protected Links: Share Privately, No Account. It can help when you want only a specific buyer to open a payment page, especially for high-value quotes or repeat client work.
A good payment link does not need to be complicated. It needs to be clear, testable, and easy to trust. If card, SEPA, and crypto are all visible, the buyer can choose the method that fits their own process, and that choice is often what turns a near-sale into a completed payment.
Put this into practice
Paste a link and get a short URL, a QR code and click stats in seconds — free, no sign-up.
More from the blog
How to Create a Payment Link and Get Paid Fast (No Gateway)
A payment link puts your card, IBAN and crypto details on one page with QR codes, so anyone can pay you directly. How to create one free and get paid online.

Is Link Tracking Legal for Employee Monitoring?
Learn when is link tracking legal for employee monitoring, how scope, notice, and data minimization affect compliance, and where the risks are.
How to migrate from QR code stickers to dynamic QR codes
Learn how to migrate from QR code stickers to dynamic QR codes by auditing stickers, prioritizing replacements, and rolling out managed links.